AOPA Paint Process
PIPER TWIN COMANCHE
…Out of several designs, AOPA members voted this one to be applied to the project aircraft.
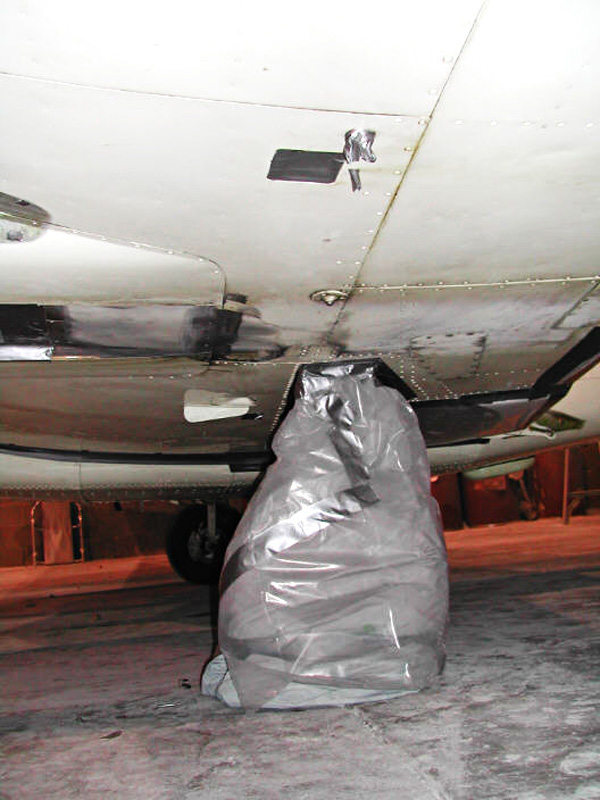
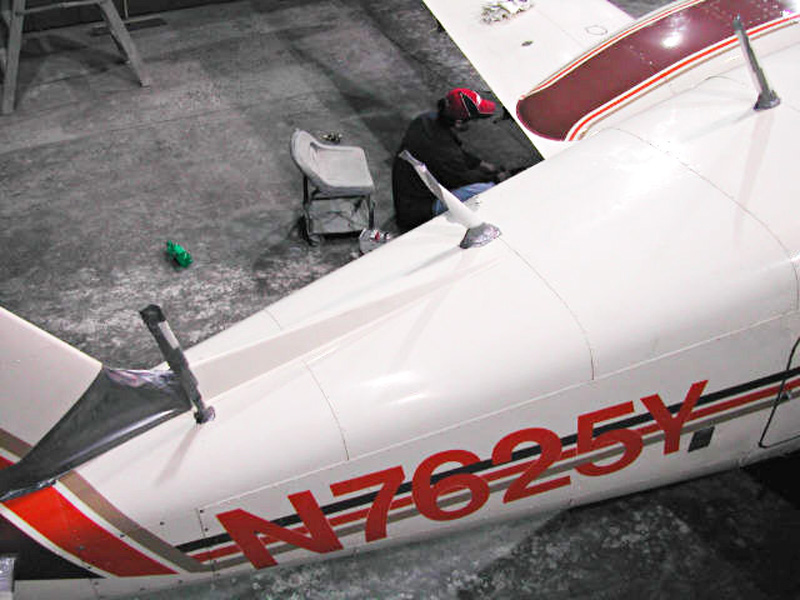
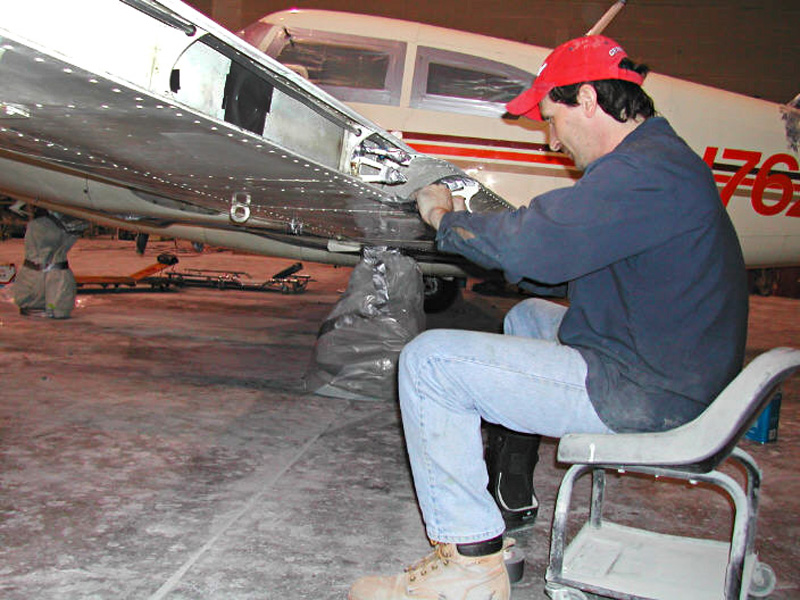
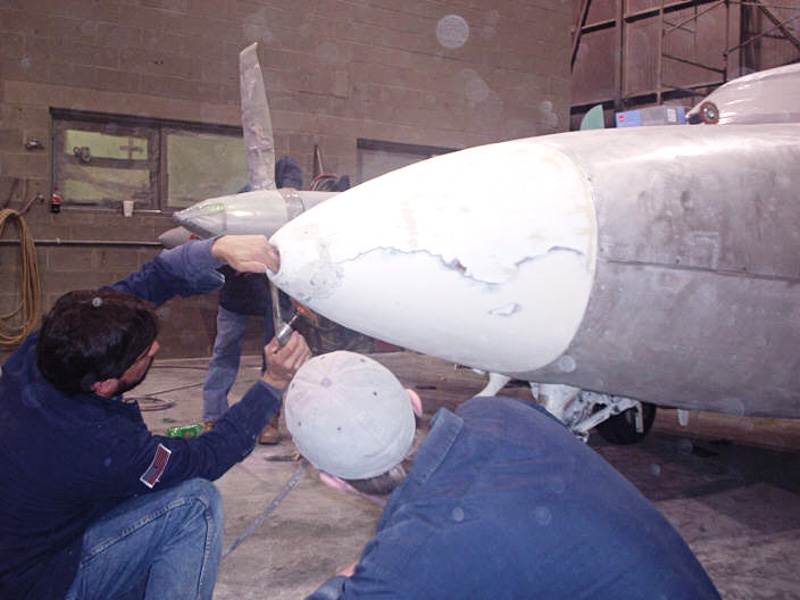
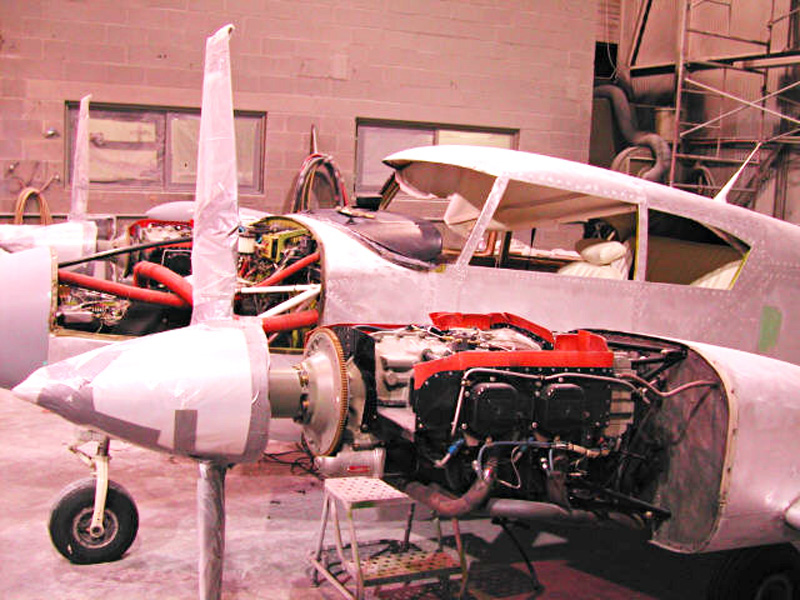
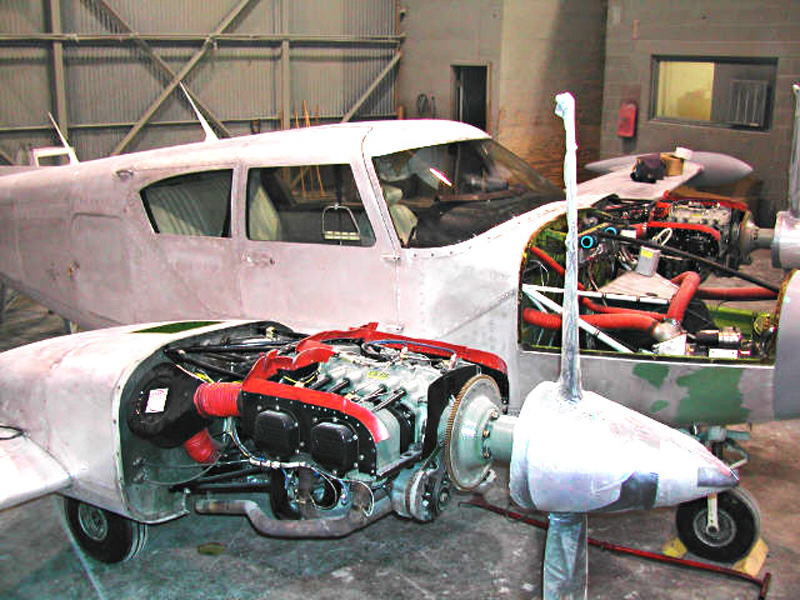
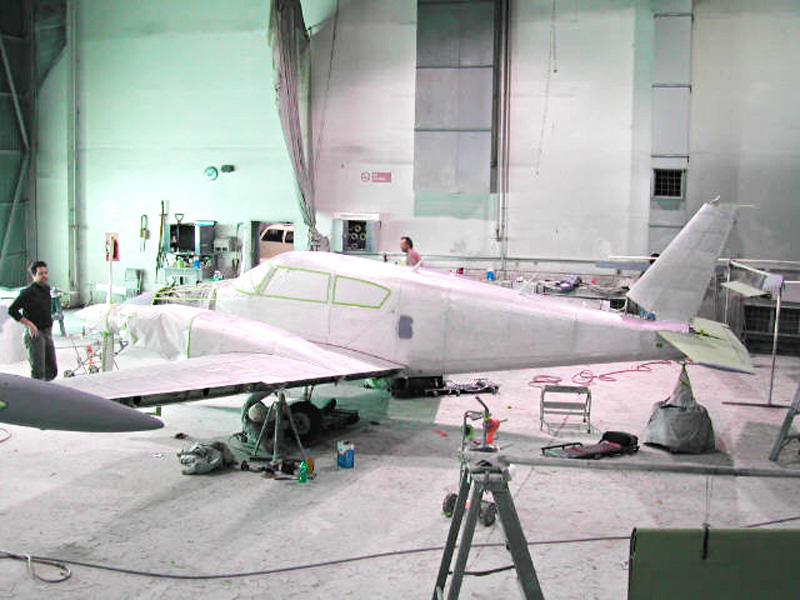
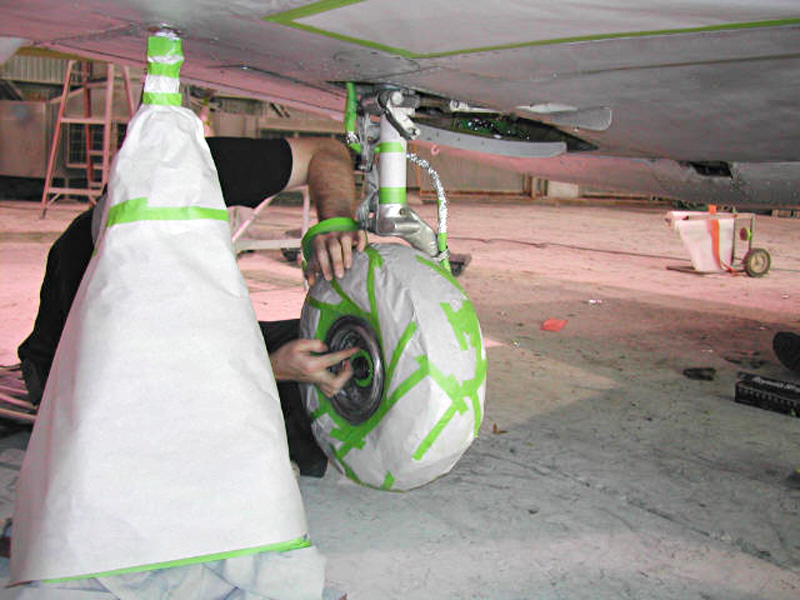
THE FIRST STEP
The first step in the paint process is taking place in the photo’s below. Flight control surfaces, flaps, gear doors, composite parts, etc. are removed from the aircraft. All plexiglass is sealed for protection, as well as fuel vents, caps, pitot static systems, landing gears, etc. During this process, we are also inspecting the aircraft for any hidden damage, or cosmetic issues that should be dealt with.


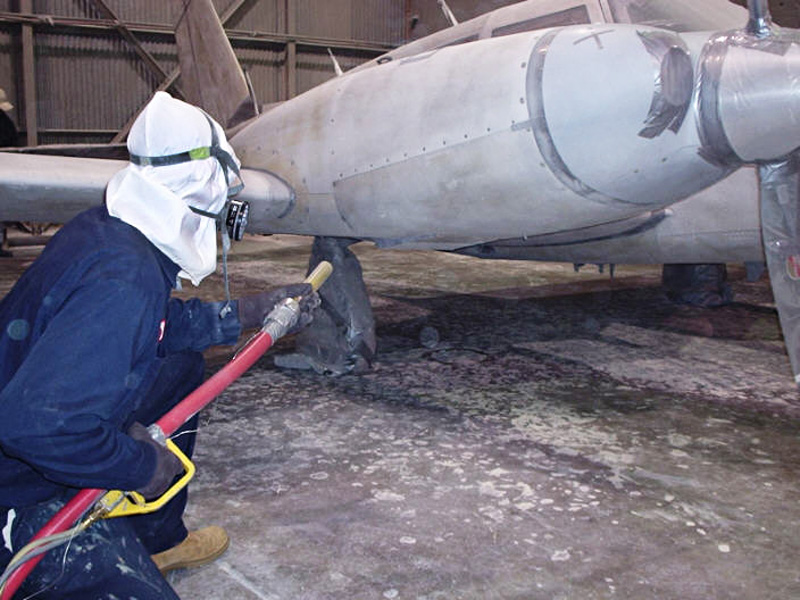
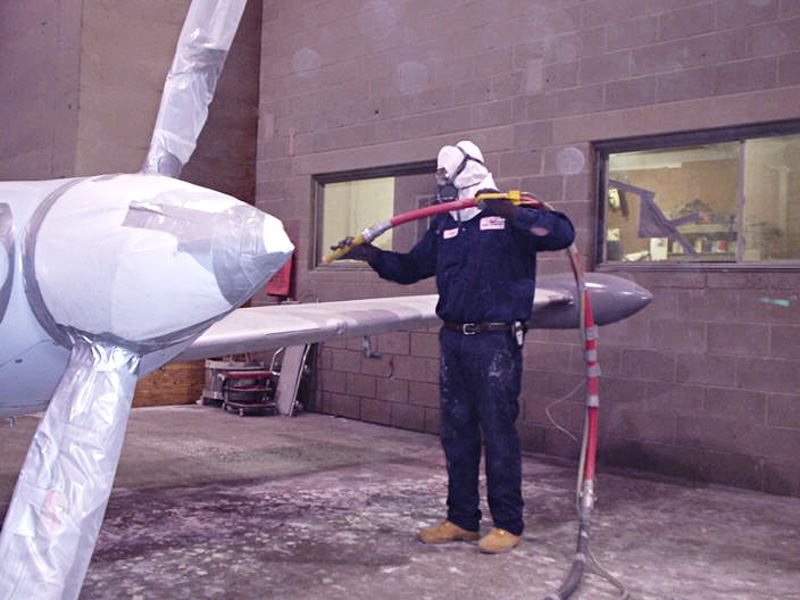
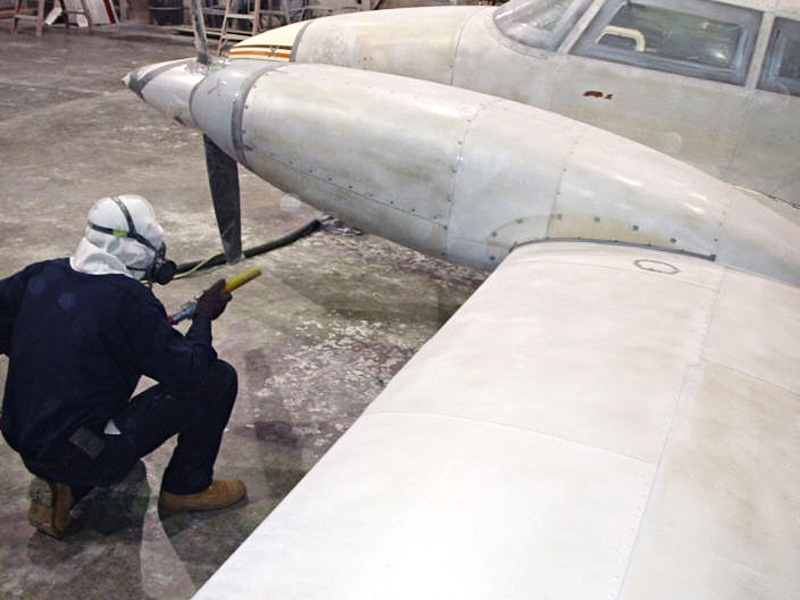
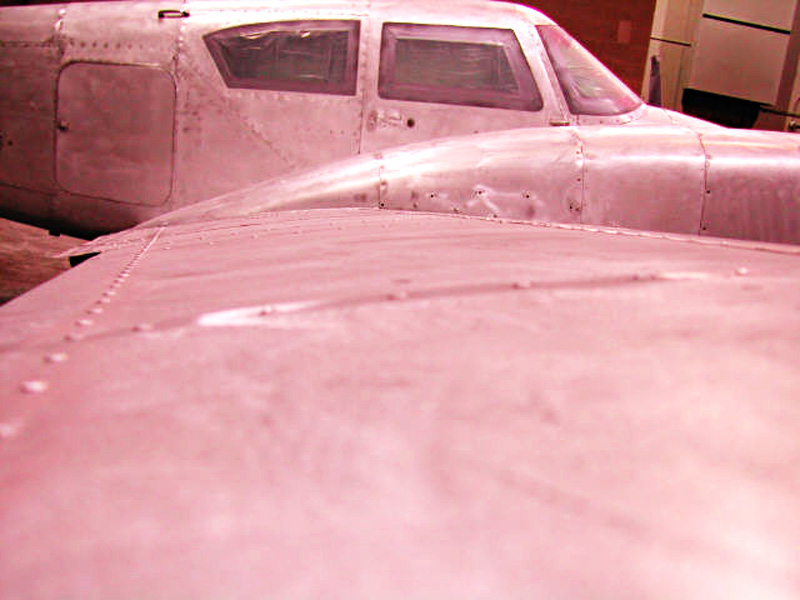
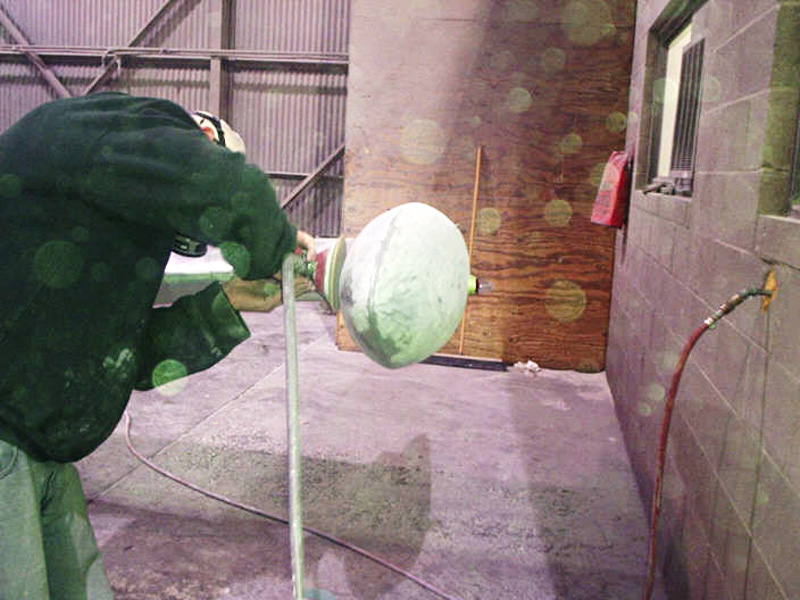
THE STRIPPING PROCESS
During the stripping process, the paint is removed via plastic media removal.

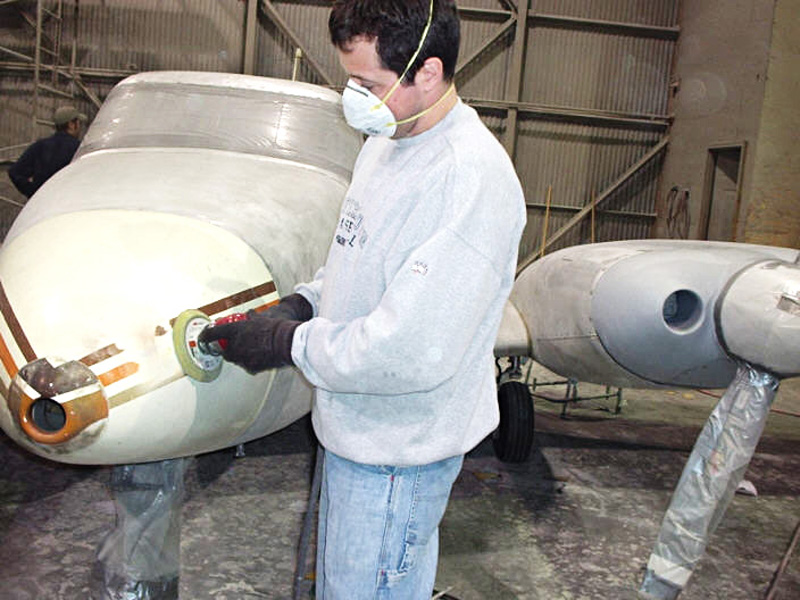
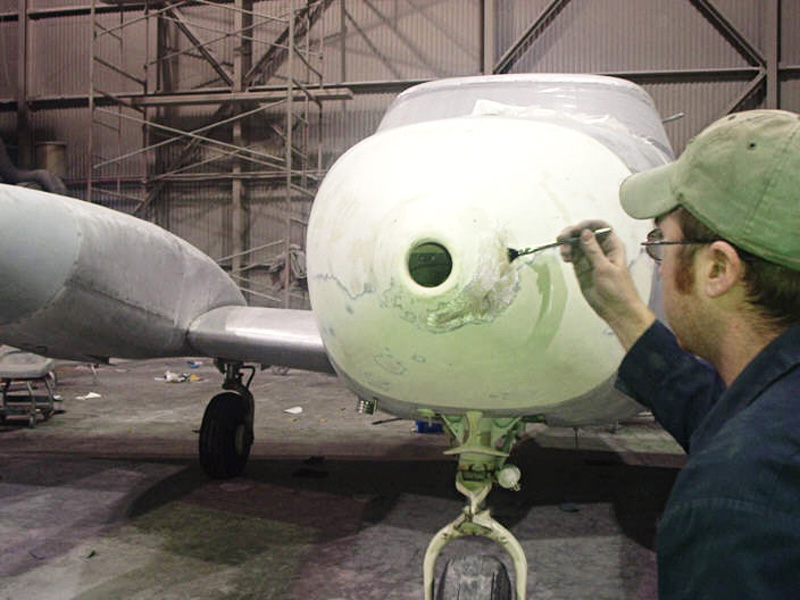
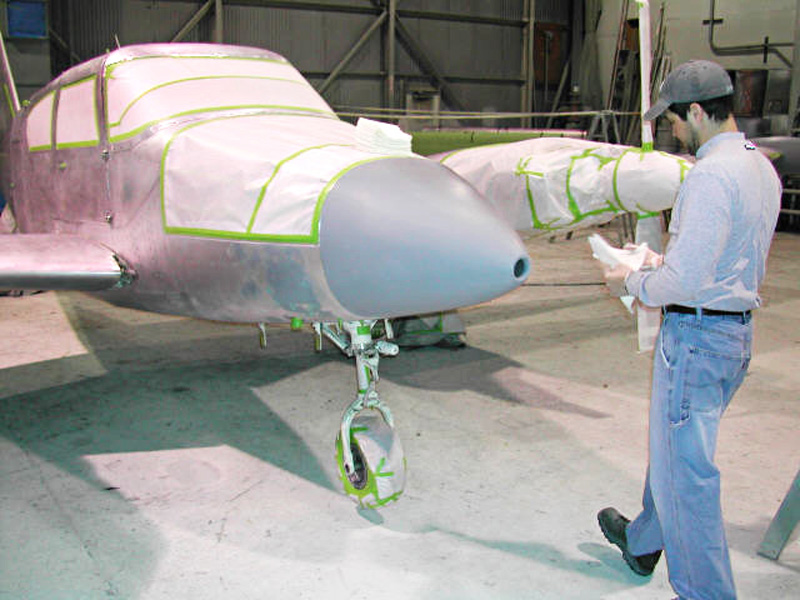
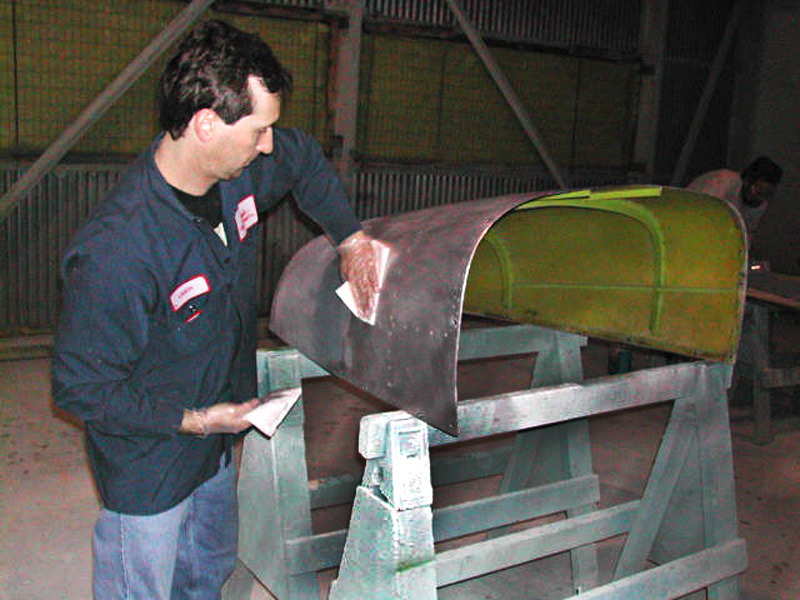
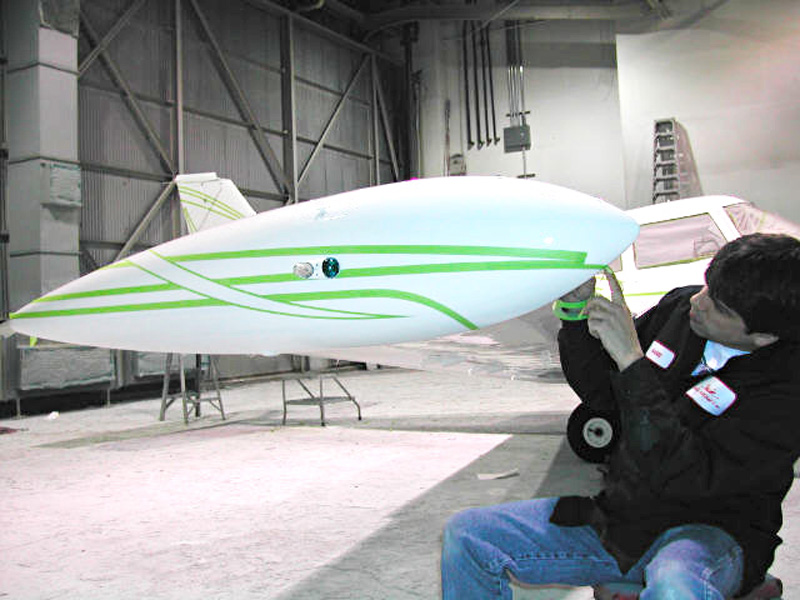
REWORKING THE COMPOSITE
Composites, such as the nose of the aircraft are treated differently. The paint is removed down to the gel coat using mechanical means (dual action sanders and hand sanding). Composite repairs are completed and a primer is applied to check for any flaws. The tip tanks, although aluminum, use a body filler to give them a more aerodynamic shape. These tanks are prepped the same as composite because of that filler.

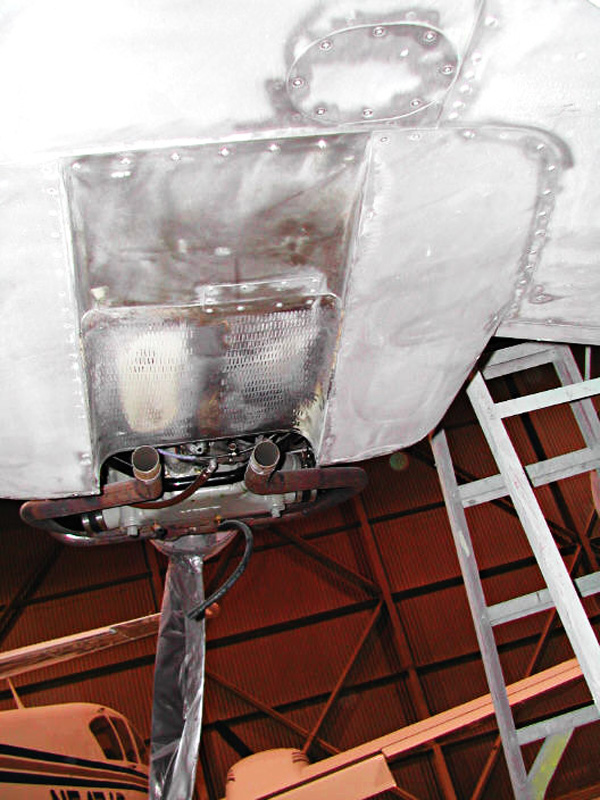
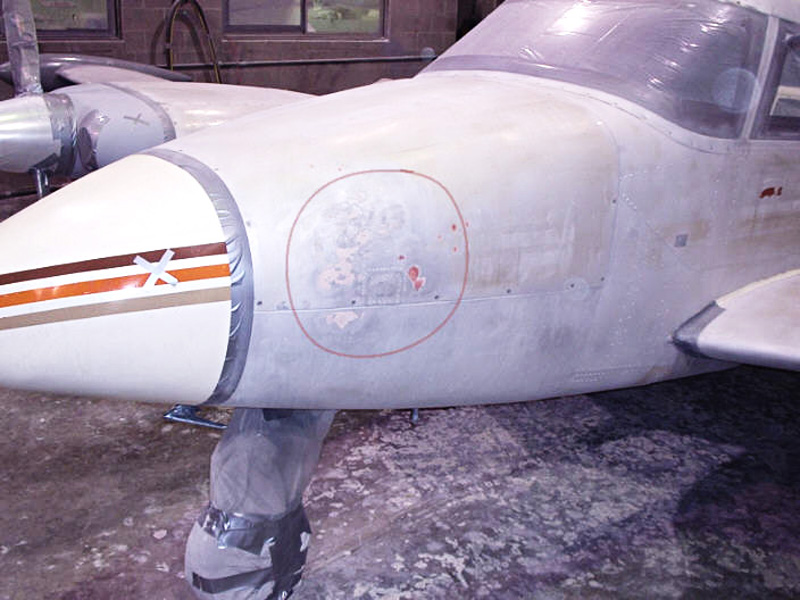
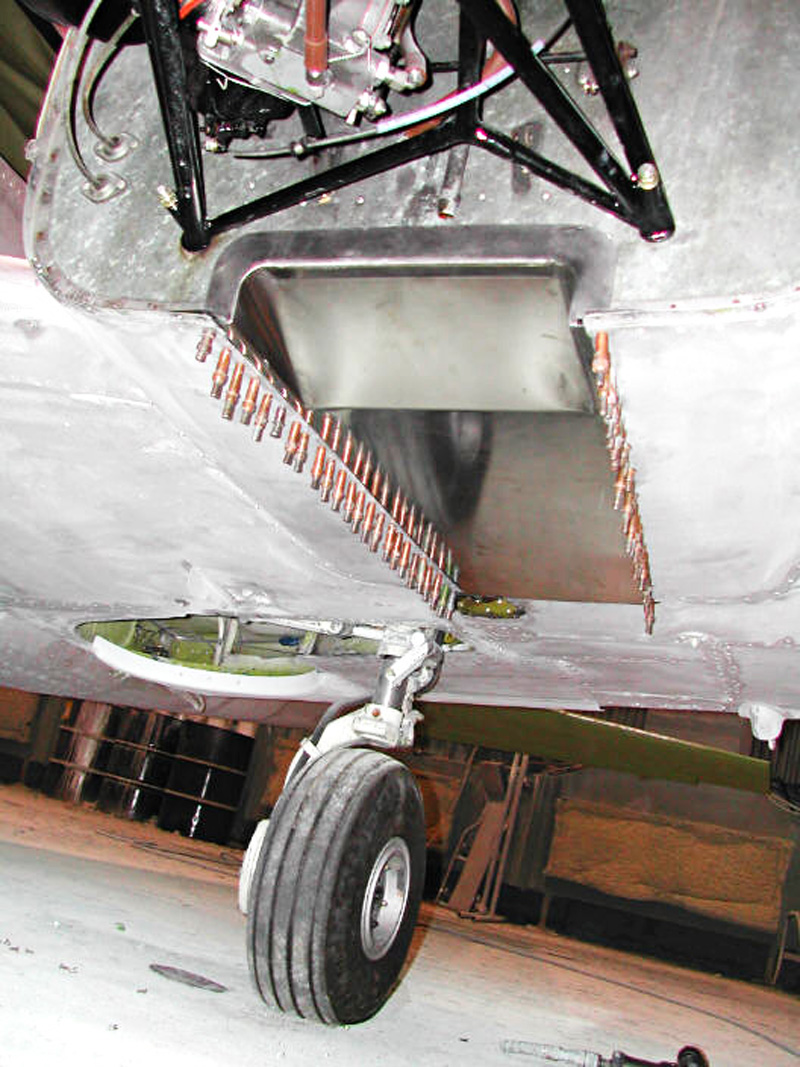
HIDDEN DAMAGE REPAIR
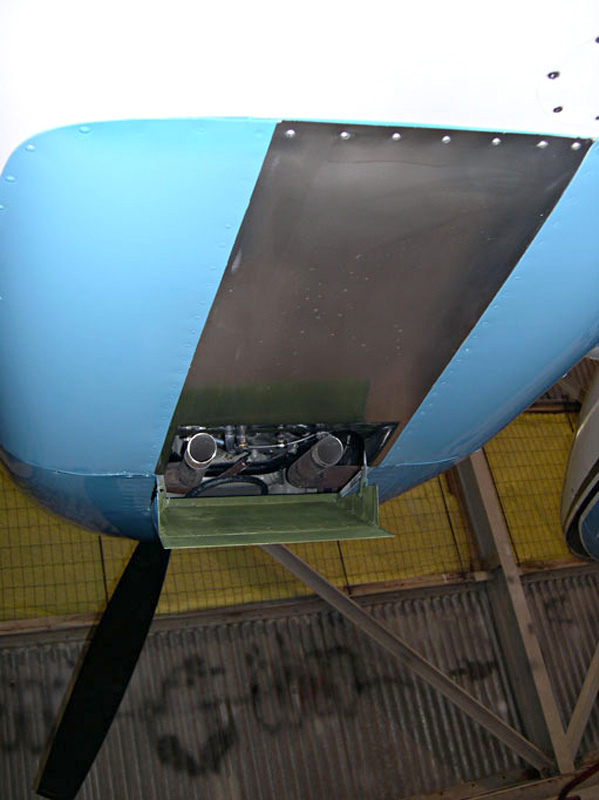
Some of the hidden damage found on this aircraft is typical. This is cosmetic damage and has no effect on the airworthiness of the aircraft. Regardless, all of these areas need to be addressed to bring the plane back to a like new condition. The nose of the aircraft has some ice damage, and the stainless exhaust augmenters are showing wear. We have coordinated with the avionics shop and will be removing certain antennas that are no longer needed with the new radio package. An ADF sense antenna is being removed and patched below.

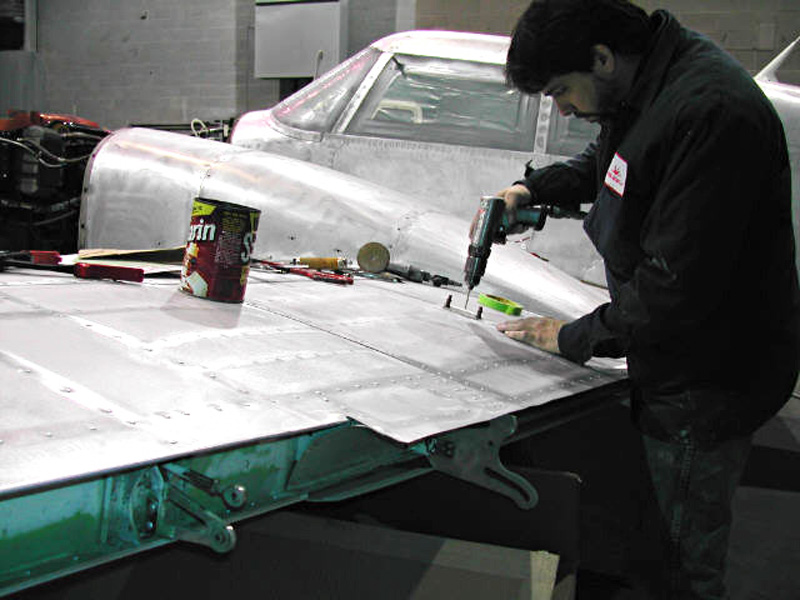

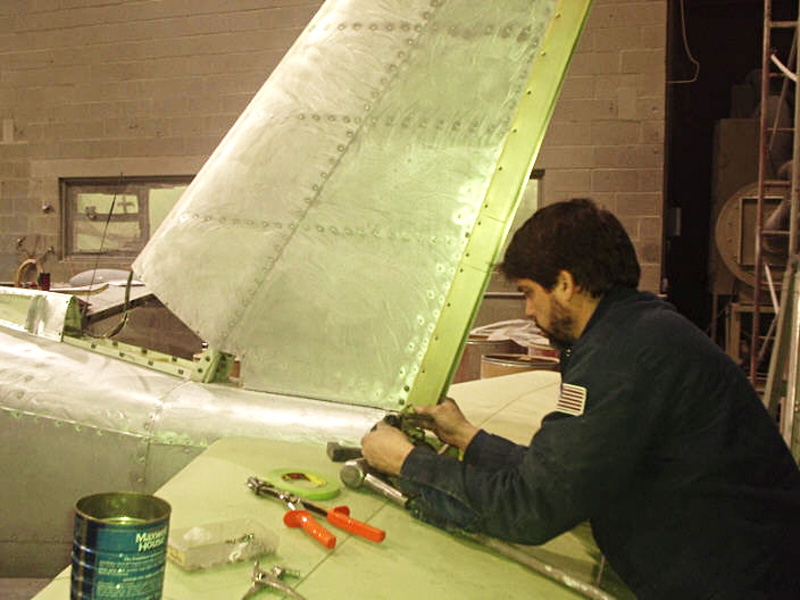
SPEED MODS AND GLASS REPLACEMENT
Knots 2 U (www.knots2u.com) aileron and rudder gap seals are being installed. Windshield and all windows are being removed and replaced.
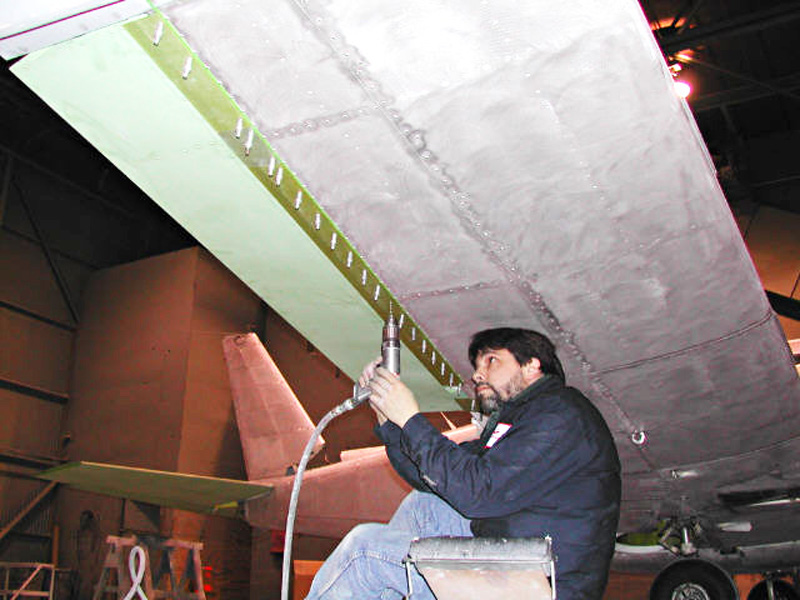


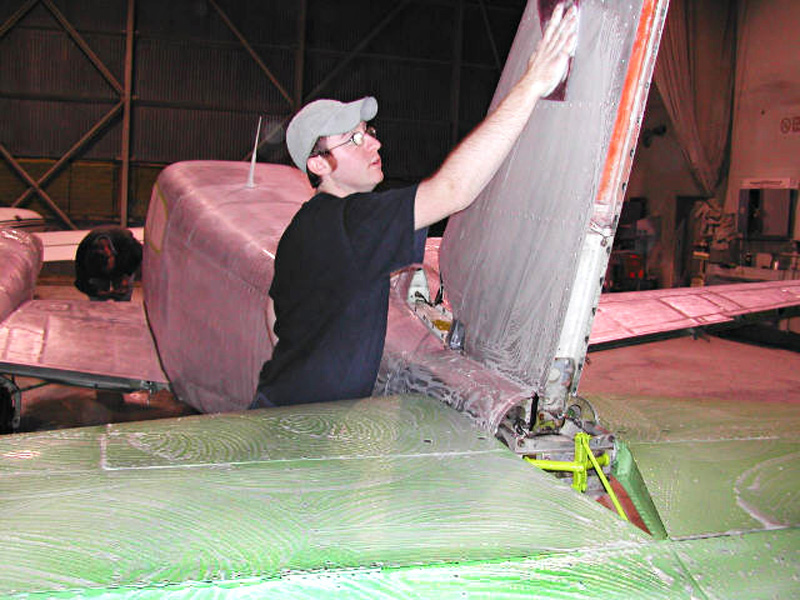
REPAIRS AND MODS COMPLETED
The new glass from LP Aero Plastics has been installed. www.lpaero.com One piece windshield, pilots, and copilots windows have frameless vents installed. All glass is tinted in gray and .250 in thickness. New augmenters have been installed in the exhaust area on both wings. After the repairs and Mods were completed, the aircraft was washed followed by and etch.

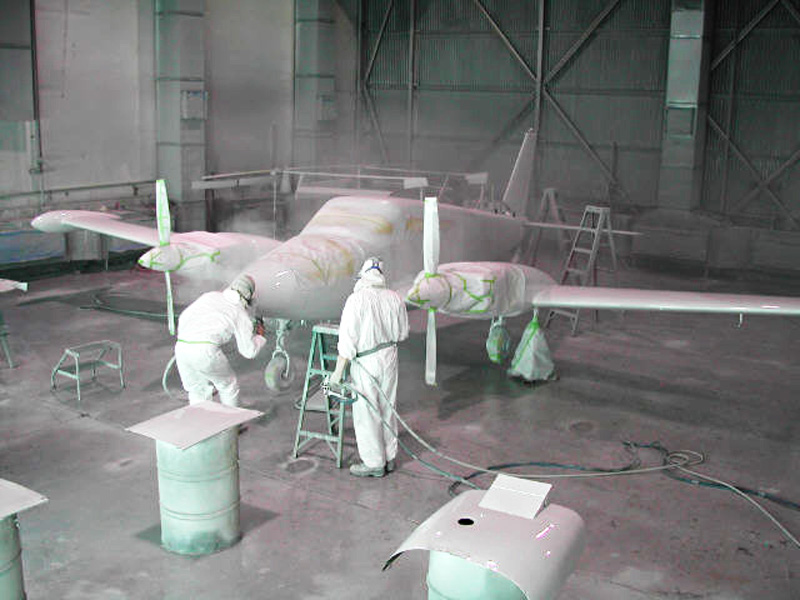
SECOND PHASE OF THE PAINTING PROCESS
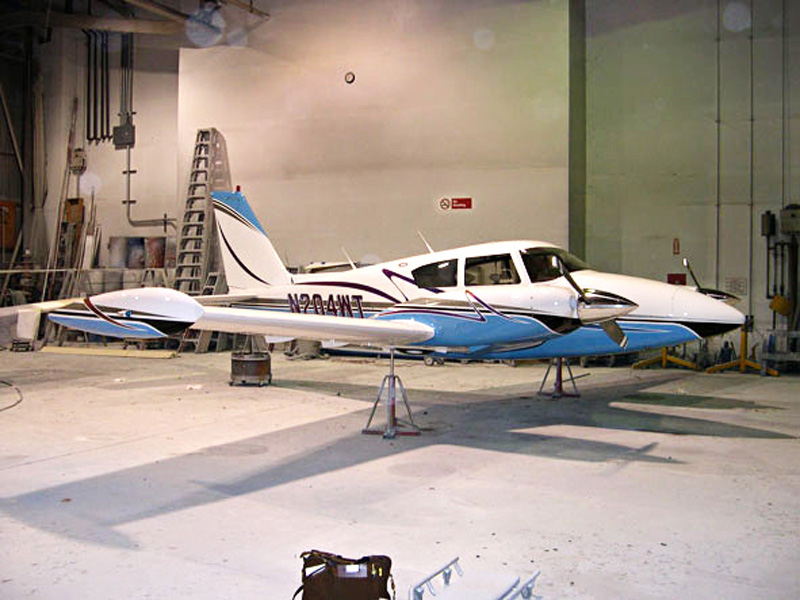
In the second stage of the painting process, final preparations are being made for the application of the primers, and paints. The Aopa aircraft will be painted using Dupont products. Aircraft is being masked for the primer and base color. All parts of the aircraft are carefully wiped with a solvent to remove all contaminants, followed by blowing all seams and surfaces with high pressure air, and tacking to remove all dust. The first corrosion resistant primer is applied, followed by a secondary high fill prime that is sandable.
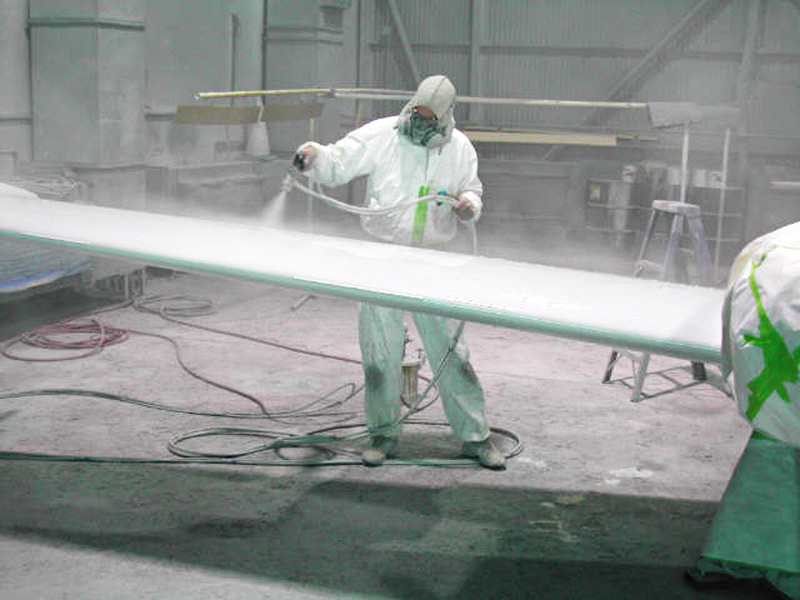
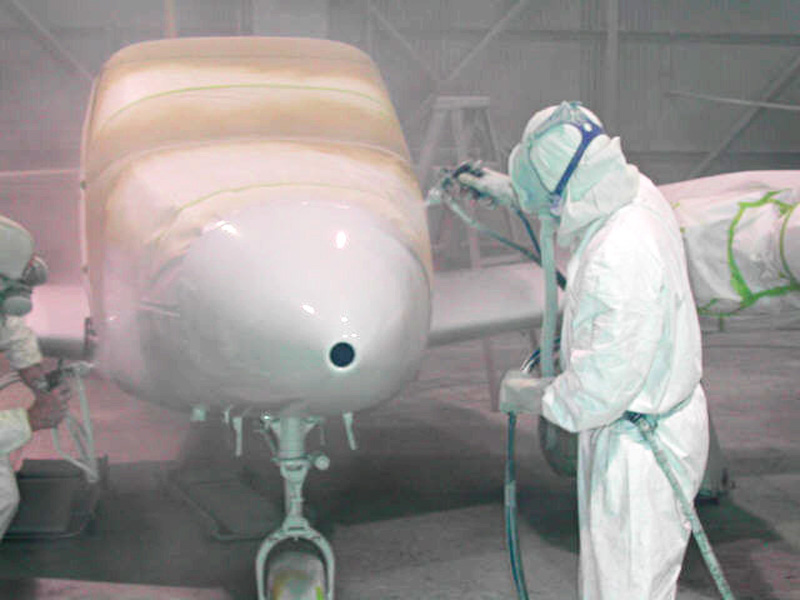
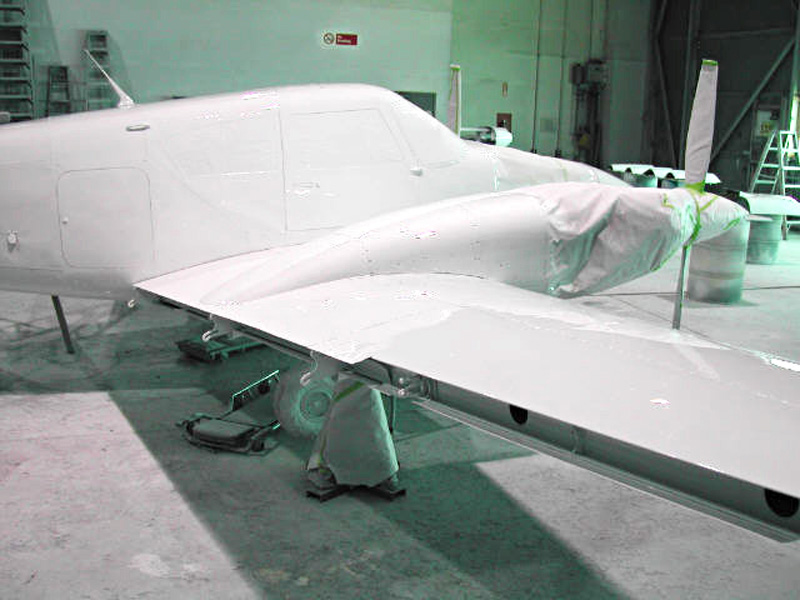
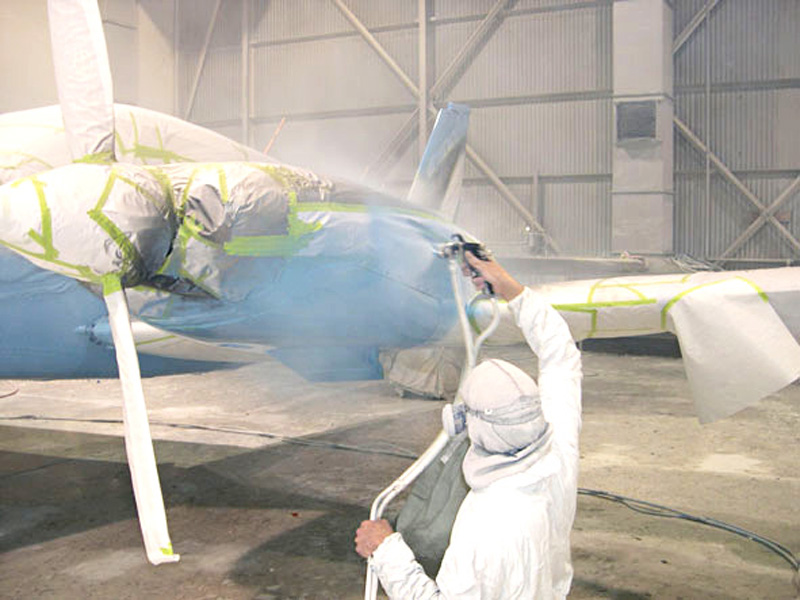
BASE COAT
The primer has cured followed by sanding out with fine grit paper. The aircraft is again blown out, wiped down with solvent and tacked. The base color is mixed to a specific viscosity based on the temperature and humidity. The color for this aircraft is High Gloss Matterhorn white. The pressure pots are loaded, and the base coat begins. The aircraft receives three full wet coats.


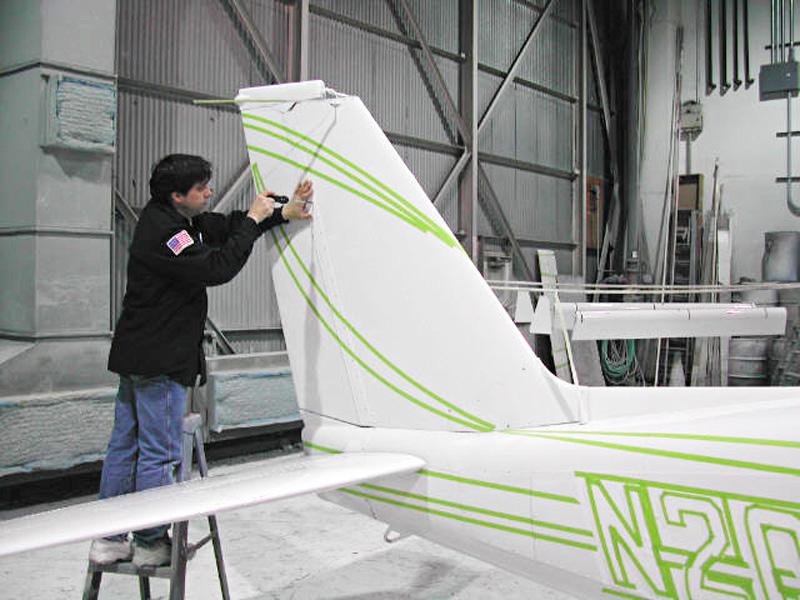
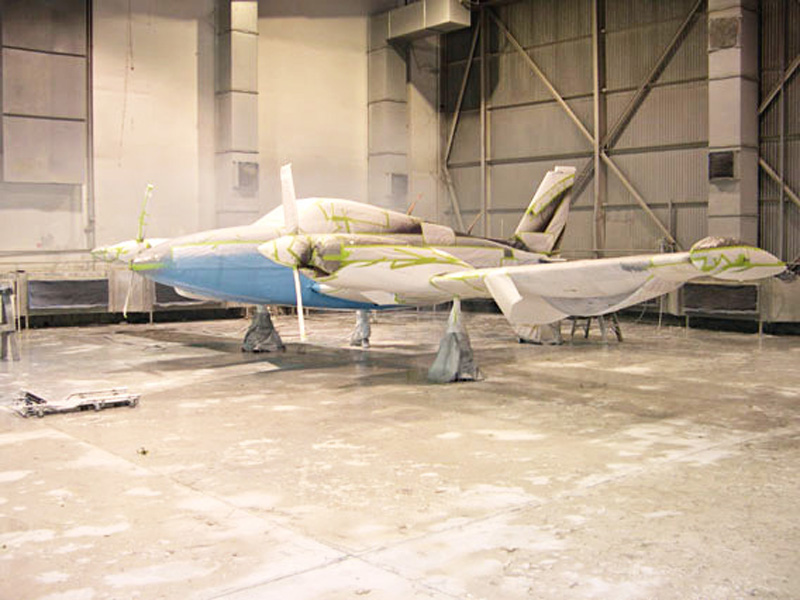
THE LAYOUT
The Matterhorn White has cured to a point where it will no longer mark when tapes are applied to it. Barie Blizard begins the task of laying out the paint scheme per Scheme Designers spec. All of the tapes are applied by hand. This part of the process can make or break the look of the aircraft. Many measurements are taken, and many references are used to complete the layout. It takes an artistic, creative eye to take a one dimensional spec and make it work on a three dimensional aircraft. The Layout on this aircraft is complex enough that it will take approx. three days to apply all of the tapes.


MASKING
After the layout is complete, the aircraft is masked out for the application of the of the trim colors. The first step is to mask all of the areas that will remain Matterhorn white. The second step is to mask in a manor that will expose only the first color that will be sprayed. The third step is to wipe the tapes (this is what gives you a clean crisp line) followed by scuffing or sanding the area to be sprayed.


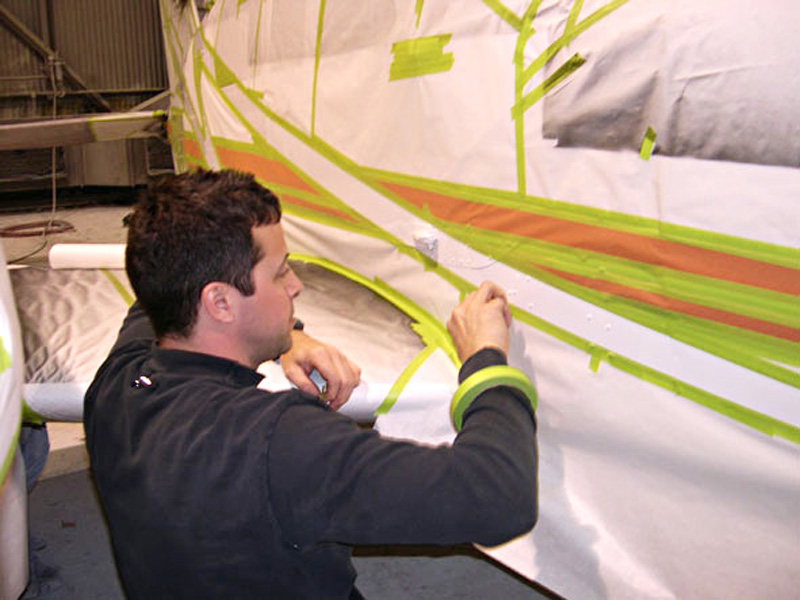

APPLYING THE TRIM COLORS
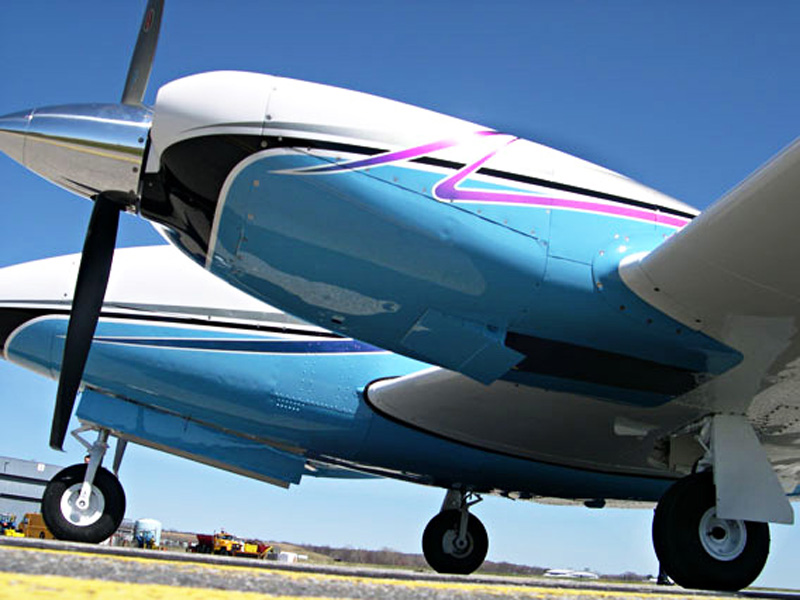
The trim colors are applied one at a time, allowing a day to cure or dry for each color. One of the trims chosen for this project is Dupont Chromalusion. This color is a three stage process to apply. Black is the first two to three coats, followed by three coats of the actual Chromalusion paint, followed by a clear coat. The result is a color that changes color depending on your angle of view.


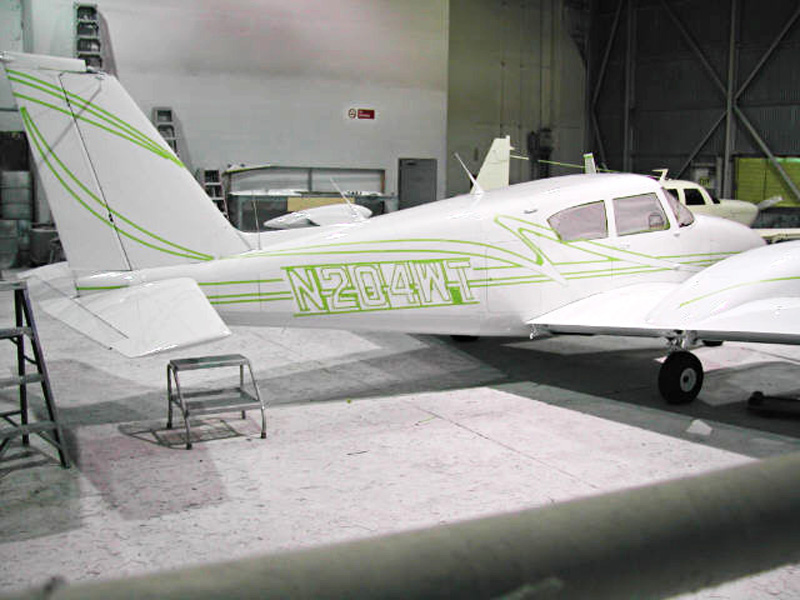
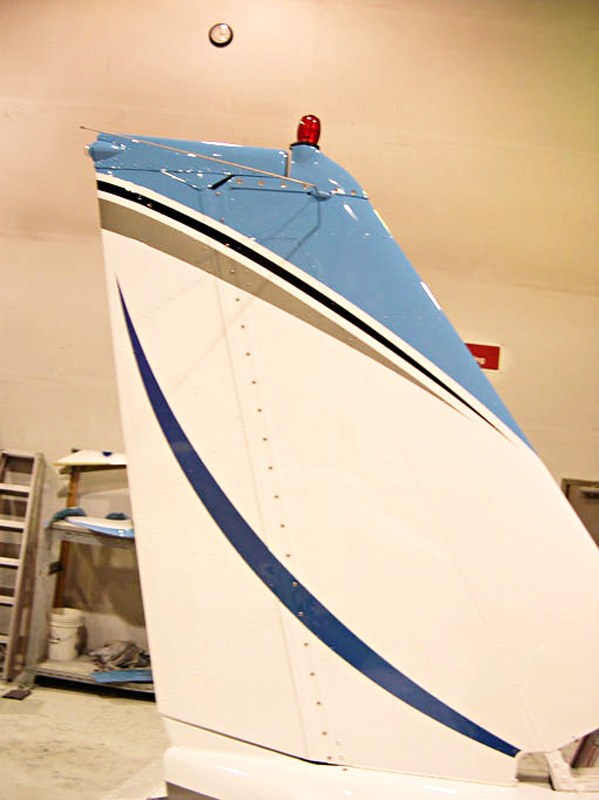
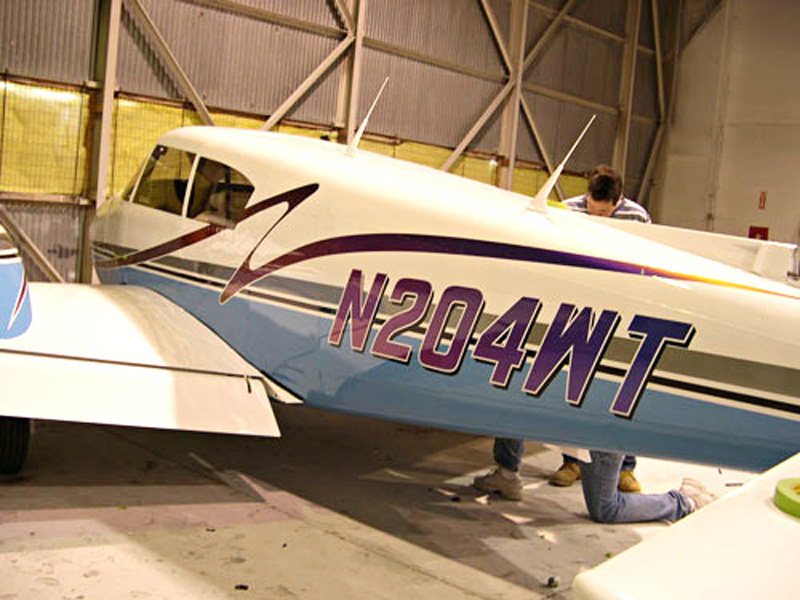
THE UNMASKING
After all of the colors have been applied and allowed to cure, the unmasking process begins. There are several layers of mask to carefully remove, and many tapes to pull. This is where we get the first glimpse of our efforts. There is still much work to do, but you can get a feel for what the finished product will look like.
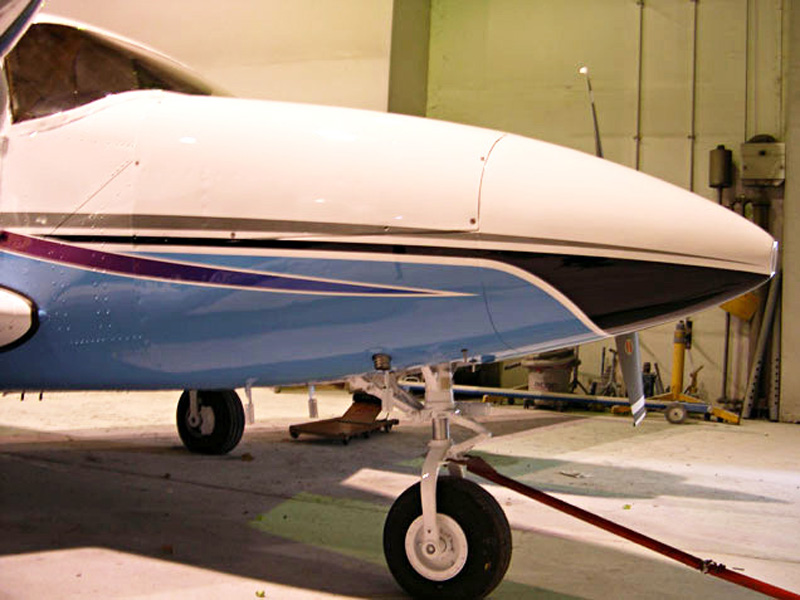
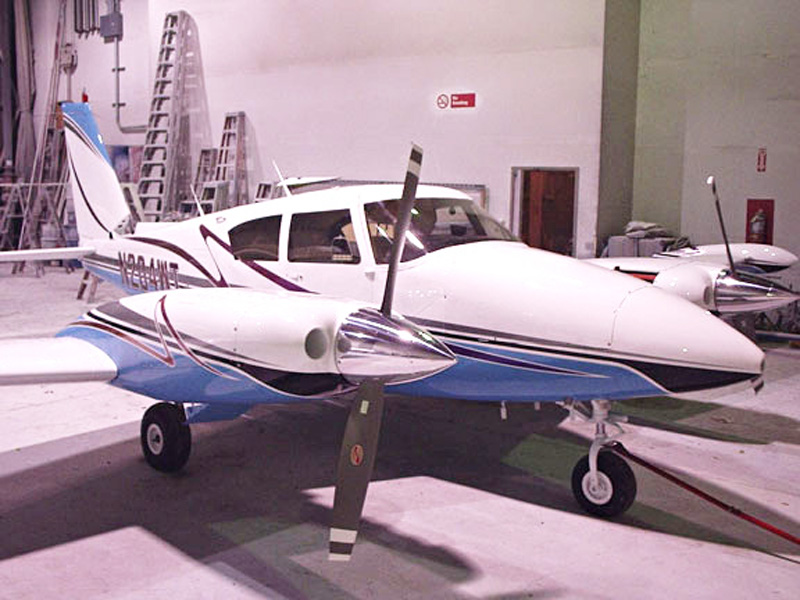
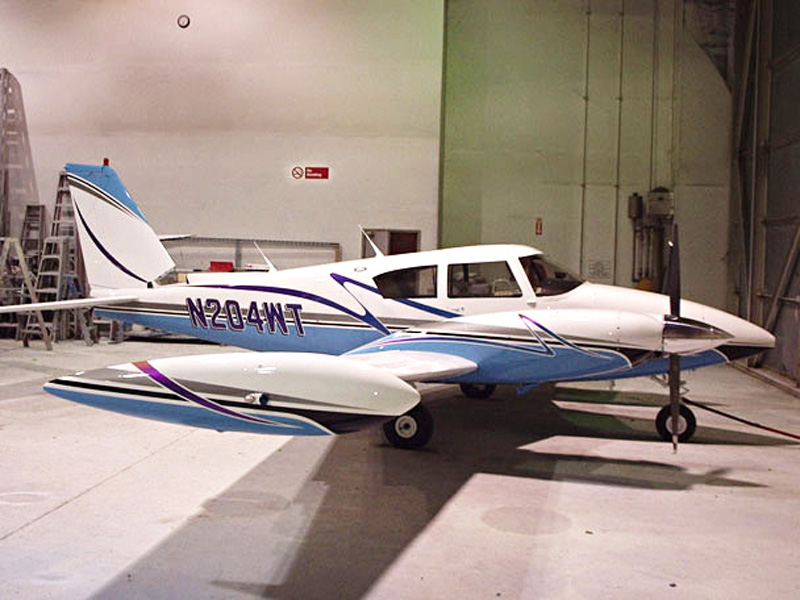
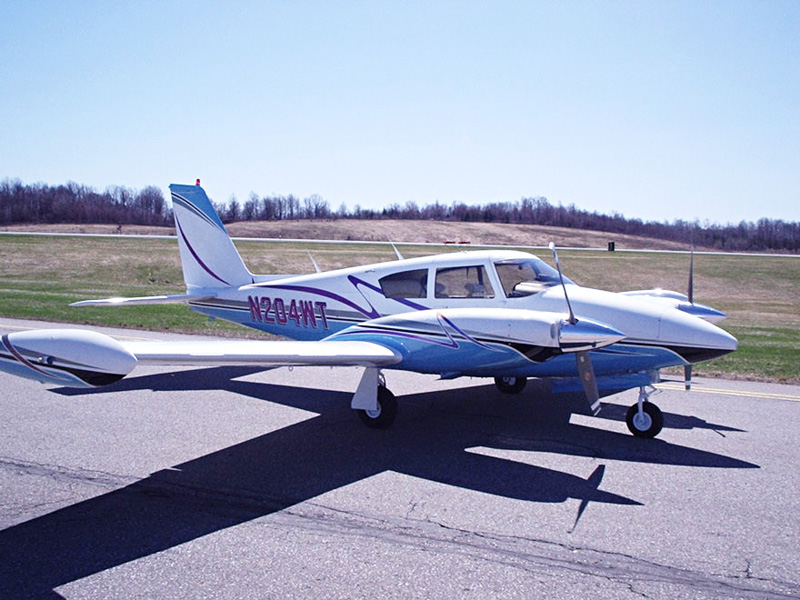
THE FINAL PRODUCT
All controls checked for balance and reinstalled. Gear retraction test complete. All repairs and mods complete. All new stainless steel hardware installed. New wing root moldings and wing walk. All detail work complete. The aircraft goes thru a final inspection and is pulled out of the hangar for its flight to Sun and Fun. If you get the opportunity to see the aircraft in person, take a good look. The quality, and workmanship that went into this project will speak for itself.